• Homeschool
    • How to Start Homeschooling
    • Resources & Homeschool Curriculum
    • Encouragement
    • Organization
    • By Subject
    • K-8
    • 9-12
    • How to Homeschool in Pennsylvania
  • Home & Family
  • Podcast
  • Shop
    • Inductive Bible Studies
    • Teen Entrepreneur Courses
      • Selling on Etsy Masterclass for Teens
      • eBay Reseller Mini Course for Teens
      • Podcast Launch for Teens
  • Resource Library
  • About
  • Contact

4onemore

Homeschool with Moxie

You are here: Home / Home & Family / thrifted frame LEGO storage solution

thrifted frame LEGO storage solution

If you have boys, you probably have Lego.  And Lego comes into the house by the hundreds, it seems, so good storage is a must.  We have 4 boys under 10, so you can imagine the amount of Lego we have accumulated through the years.

minifigs

(This post contains affiliate links, which means I may receive a small commission if you purchase from these links.  Thanks for the support.)

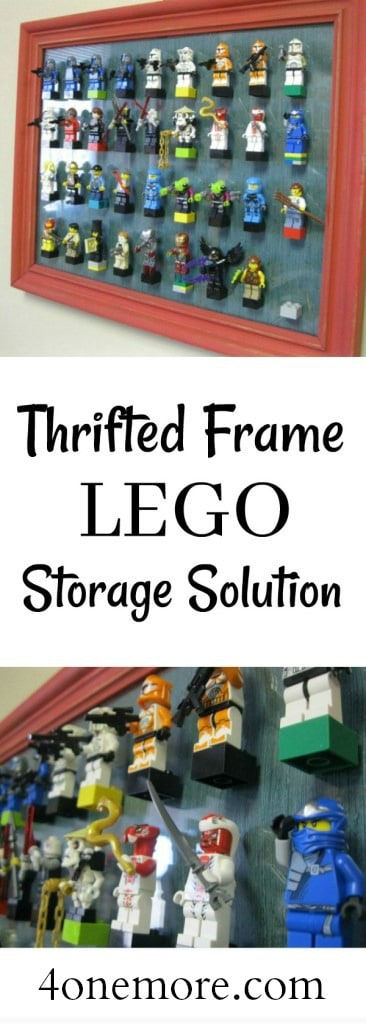
I spent some time looking for great storage solutions, and came across this idea quite a bit:  Framed Minifigure Storage & Display.  Here’s a Pinterest experiment that was a success, not a fail!

 thrifted frame LEGO storage l 4onemore.com

Honestly, the mini figures are so fun to look at, why not display them prominently in your boys’ room, instead of hiding them away?  I’m still looking for great ideas for the thousand other bricks we own, but the mini figure problem is solved for now.

I found the best source for this idea here.  I modified it a bit by using thrifted frames and keeping the glass in them.  Ours aren’t perfect, but my boys think they are!

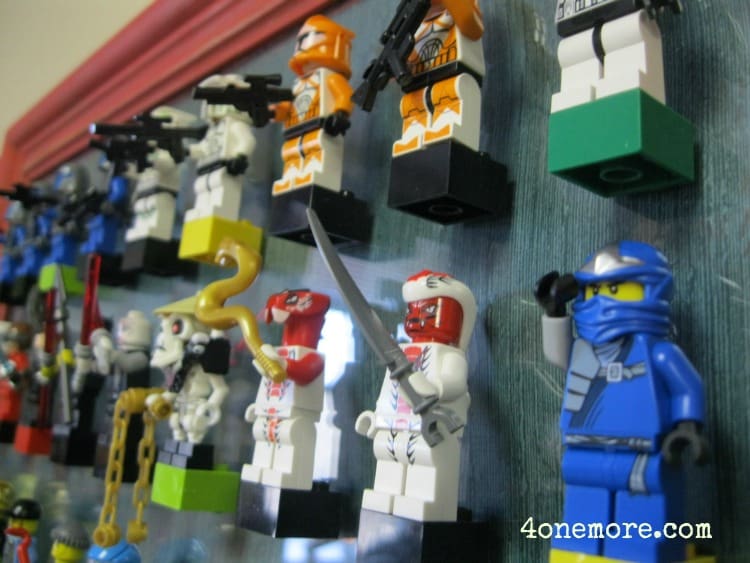
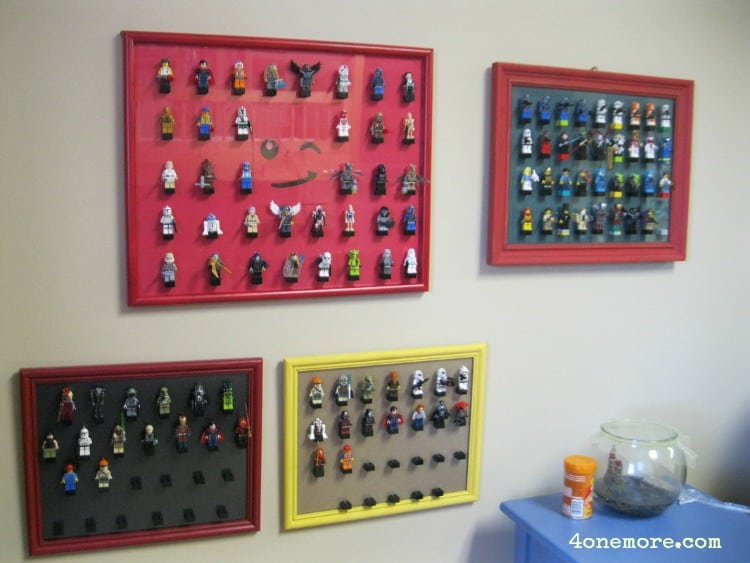
Check your local thrift store for some great frame options in large sizes!  It will only set you back a few dollars.  We bought the bricks (2 x 2) at a Lego store.  For 100 bricks in the 2×2 size (that gave each boy 25 bricks for his display), we spent about $10.  So, project total cost with thrifted frames was no more than $20 for all 4 displays.

thrifted frame LEGO storage l 4onemore.com

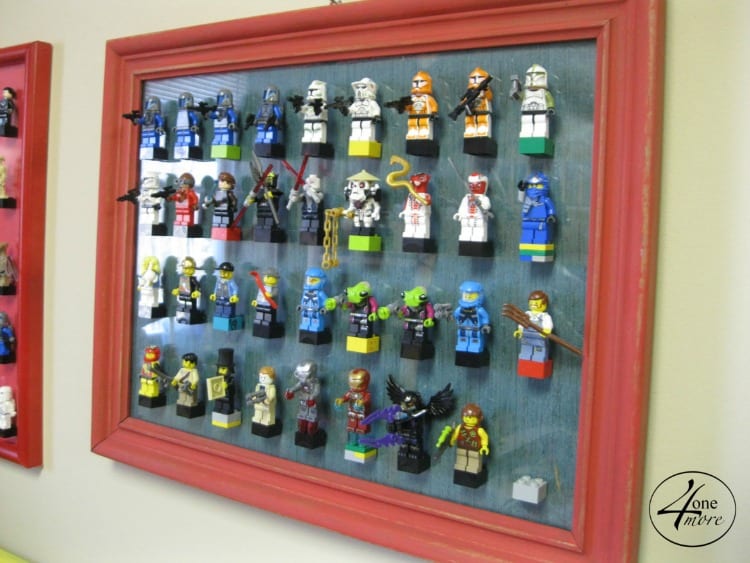
Each boy picked the paint color for his frame.  We just inserted scrapbook paper, card stock, or nothing (!) into the frame for the background.  Then, I spaced out the 2 x 2 bricks and glued them on the glass with E6000 glue, which is pretty much amazing stuff.

thrifted frame LEGO storage l 4onemore.com

thrifted frame LEGO storage l 4onemore.com


thrifted frame LEGO storage l 4onemore.com

Where previously we had some vintage world maps framed on the wall (because I LOVE that kind of stuff!), my boys were ready for something that looked like their tastes.  And now it’s fun to put the minifigs away at night 🙂

thrifted frame LEGO storage l 4onemore.com

thrifted frame LEGO storage l 4onemore.com

thrifted frame LEGO storage l 4onemore.com

Have you found any great ideas for Lego storage?  Share below!

Check out my DIY Pinterest board for more ideas.

</a> 


Thrifted Frame LEGO Storage Solution

«
»

Home & Family

Comments

  1. Sarah says

    February 10, 2015 at 9:21 am

    Abby, I would love to know how they hold up. I made these very ones from pinterest. However all the 2×2 blocks fell off within a week from taking off the mini figures and putting them back on. If your glue holds up I will have to do them again 🙂 Thanks for sharing what you used.

    • abbybanks99@gmail.com says

      February 10, 2015 at 12:41 pm

      What kind of glue did you use? I have used the E6000 glue in many different crafting applications, and it does not fail in my experience. It has a very strong odor, and I try to wear a mask when using it, or use it in a well-ventilated area. I definitely wouldn’t recommend hot glue, as that can eventually peel right off. I think the key to this working is definitely a heavy duty industrial strength adhesive. I’ve had friends that say “Goop” glue works well too. Hope this helps!

Hi! I'm Abby - a former classroom teacher turned homeschooling mom of 5. You're in the right place if you want to be inspired, encouraged, and equipped to homeschool confidently. You can do it! Read More…

Featured Articles

Independence Hall and Mount Vernon

Free Revolutionary War Virtual Tours for Homeschool History

Want to learn how to plan your homeschool year like a pro? It's actually simpler than you think. @4onemore.com #homeschool #planning

How to Plan Your Homeschool Year Like a Pro

Discover how IEW’s Fix It! Grammar: Robin Hood (Level 3) works, what grammar concepts it covers, and whether it’s the right fit for your homeschool.

Fix It! Grammar Robin Hood Review (Level 3) | IEW Homeschool Grammar Curriculum

There's help for kids who hate writing! Our guest is Julie Bogart of Brave Writer, and she'll share how to help your reluctant writer.

Turning Reluctant Writers into Confident Communicators with Julie Bogart

notebooking pages

From the Shop

  • Flower Shop Imaginary Play Set Flower Shop Imaginary Play Set $3.00
  • Backyard Astronomy Pack Backyard Astronomy Pack $3.00
  • Psalms Journal: An Inductive Bible Study Psalms Journal: An Inductive Bible Study $9.99
  • Montessori Style Human Organ Play Dough Mats Montessori Style Human Organ Play Dough Mats $3.00

Please see our Privacy Tools & Privacy Policy.

Homeschool

Homeschool With Moxie Podcast

10 Truths to Crush Homeschool Burnout {FREE class}

How to Homeschool in Pennsylvania

How to Start Homeschooling

Homeschooling 101: Basics for Parents Before You Start

Work With Me

Join – Access Free Library

About Me

Contact

Consultation

Shop

Copyright © 2025 · Darling theme by Restored 316

Copyright © 2025 · Homeschool With Moxie
Home Page Design By Homegrown Creative Studio